If you are looking for a simple and inexpensive way to clean your headlights, you might want to try using toothpaste. Yes, you read that right. Toothpaste, the same product that you use to clean your teeth, can also be used to clean your headlights. Toothpaste can help you remove the dirt, grime, and oxidation that make your headlights look cloudy, yellow, or dull. In this article, we will show you how to clean headlights with toothpaste in five easy steps. By following these steps, you will be able to improve the visibility, safety, and appearance of your car.
Step 1: Gather the necessary materials
Before you start the cleaning process, you will need to gather the following items:
- Toothpaste: This is the main ingredient that will do the magic. You can use any kind of toothpaste, but preferably one that is white and has baking soda or fluoride in it. These ingredients can help remove the stains and polish the headlights. You will need a tube or a jar of toothpaste for this task.
- Toothbrush: This is a handy tool that will help you apply and scrub the toothpaste on the headlights. You can use any toothbrush, but preferably one that has soft or medium bristles. You don’t want to use a hard-bristled toothbrush, as it can scratch the plastic lens. You will need one or two toothbrushes for this task.
- Water: This is a simple but essential item that will help you rinse the headlights and remove any residue. You will need a bucket of water or a hose for this step.
- Cloth: This is a soft and absorbent material that will help you dry and polish the headlights. You can use any clean cloth, but preferably one that is made of microfiber or cotton. You don’t want to use a synthetic or woolen cloth, as it can leave lint or scratches on the surface. You will need one or two cloths for this task.
- Tape: This is a sticky material that will help you protect the surrounding areas of the headlights from toothpaste. You will need to cover the paint, glass, and rubber parts of the car that are close to the headlights to avoid any damage or stains. You can use any kind of tape, but preferably one that is easy to remove and does not leave any residue. You will need a roll of tape for this task.
Step 2: Prepare the headlights
Once you have all the materials ready, you can proceed to prepare the headlights for the cleaning. Here is what you need to do:
- Park the car in a shaded area and turn off the engine. You want to avoid direct sunlight and heat, as they can affect the effectiveness of toothpaste and cause it to dry quickly. You also want to make sure that the engine is off and the headlights are cool to the touch, as toothpaste can be sticky and hard to remove if it comes in contact with hot surfaces.
- Use tape to cover the surrounding areas of the headlights. You want to create a border around the headlights with the tape, leaving only the plastic lens exposed. This will prevent toothpaste from getting on the paint, glass, or rubber parts of the car, which can cause damage or stains. Make sure that the tape is firmly pressed and does not have any gaps or wrinkles.
- Test a small area of the headlight with toothpaste before applying it to the whole surface. You want to make sure that toothpaste does not react negatively with the plastic or cause any discoloration or damage. To do this, squeeze a small amount of toothpaste on the toothbrush and spread it on a corner of the headlight. Wait for a few minutes and then wipe it off with a cloth. Check the results. If the headlight looks clear and shiny, you can proceed to the next step. If the headlight looks worse or has any signs of damage, you should stop and look for another method to clean your headlights.
Step 3: Apply toothpaste to the headlights
Now that you have prepared the headlights, you can start applying toothpaste to them. Here is how to do it:
- Squeeze a generous amount of toothpaste on the toothbrush and spread it evenly on the headlights. You want to cover the entire surface of the headlights with a thick layer of toothpaste, as this will help remove the dirt, grime, and oxidation that make your headlights look cloudy. Use the toothbrush to spread the toothpaste and make sure that it reaches all the corners and edges of the headlights.
- Avoid getting toothpaste on the paint, glass, or rubber parts of the car. As mentioned before, toothpaste can cause damage or stains to these parts, so you want to be careful not to spill or drip it on them. If you accidentally get toothpaste on these parts, you should wipe it off immediately with a cloth and water.
Step 4: Scrub and rinse the headlights
After applying toothpaste to the headlights, you can proceed to scrub and rinse them. Here is what you need to do:
- Use the toothbrush to gently scrub the toothpaste and the dirt from the headlights. You want to use a circular motion and apply light pressure, as this will help remove the dirt and polish the headlights. You might need to use more than one toothbrush, depending on how dirty your headlights are. You should see the headlights becoming clearer and shinier as you scrub them.
- Use water to rinse the headlights and remove any residue. You want to use a bucket of water or a hose to spray water on the headlights and wash away any remaining toothpaste or dirt. You should see the water running clear and not cloudy, as this indicates that the headlights are clean and free of residue.
Step 5: Remove the tape and admire the results
You are almost done with the cleaning process. The last step is to remove the tape and admire the results. Here is how to do it:
- Carefully peel off the tape and dispose of it properly. You want to remove the tape slowly and gently, as this will prevent any damage or peeling of the paint, glass, or rubber parts of the car. You should also avoid touching the headlights with the tape, as this can transfer some toothpaste or dirt back to them.
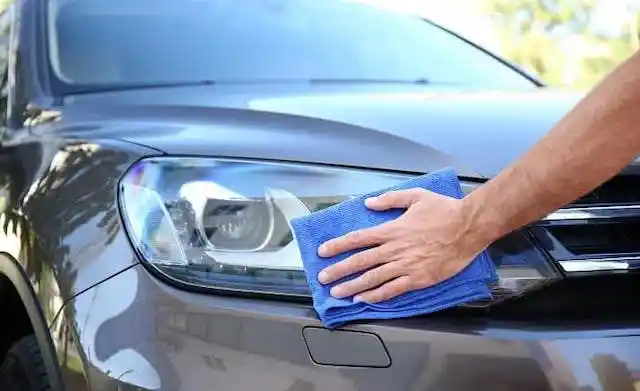
- Dry the headlights with a cloth and check for any spots or streaks. You want to use a dry and soft cloth to wipe the headlights and make sure that they are completely dry and free of moisture. You should also check for any spots or streaks that might have been left by the toothpaste or the water, and polish them with the cloth until they are gone.
- Congratulate yourself on completing the task and enjoy your clean headlights. You have successfully cleaned your headlights with toothpaste and restored them to their original condition. You should notice a significant improvement in the visibility, safety, and appearance of your car. You should also feel proud of yourself for accomplishing this task with a simple and inexpensive product.
Conclusion
In this article, we have shown you how to clean headlights with toothpaste in five easy steps. By following these steps, you can use toothpaste to remove the dirt, grime, and oxidation that make your headlights look dim and unappealing. You can also enjoy the benefits of having clean headlights, such as improved visibility, safety, and appearance.